
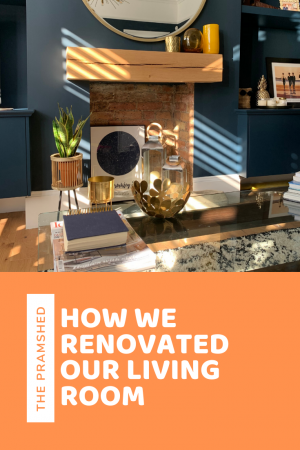
Souless Salmon Brown to Traditional Hague Blue – Our Living Room Renovation
I thought that it was time to write about the renovation of our living room, it makes sense, after the kitchen and bathroom blog posts, oh and the downstairs loo! When we moved into our house the living room was pretty souless, with no features. It was painted in a shiny colour that I had trouble describing, somewhere between brown, pink, cream and terracotta. The chimney breast was bricked up featuring a rather jazzy textured wallpaper. The huge gold fish bowl window was completely blown, and the ceiling was also papered in something from the 1960s. Plus it had a light that no longer worked, and probably never worked as we discovered during the house renovation that it wasn’t wired to the switch. Doh! So we lived with no main light in this room for just over a year.
It’s amazing what you make do with.
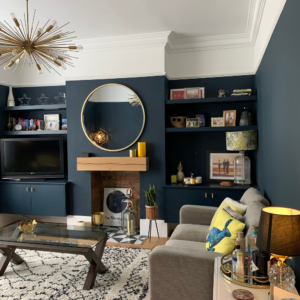
This room also became our temporary living quarters during the build. We were literally camped up in here with half of our old kitchen, two sofas and two kids – one of whom started crawling mid reno which just added to the general carnage of living at home during a house renovation. However fast forward a year and we now how a stylish and traditional Hague Blue living room. This is the room that I try to keep the kids away from, which is proving fairly tricky during lockdown.
So to get the room from A to B, here’s what we did.
The first thing we did a few weeks after moving in (there’s no hanging around here) was replacing the windows at the front of the house including the living room bay. They were all blown, full of condensation, plus the small bedroom window was dangerously unsafe that it had to be secured shut with a padlock! Usually this would have been something that we did after the major works, but it desperately needed doing, and it became more apparent after we had the pebbledash removed. So the window was the first thing to be updated in this room.
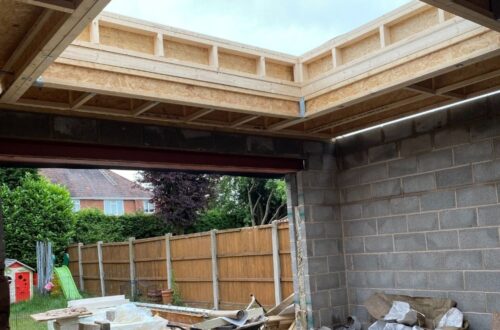
We then lived with the room until we started the major house renovation and kitchen extension in January 2019. As soon as our kitchen was at a stage where we could move into it, we quickly emptied this room with the help of our builders, who swiftly got to work in stripping and ripping it all out. This involved taking up the old laminate floor, bashing open the fireplace, pulling down the old wallpapered ceiling and removing the somewhat dated plastered cornicing, sadly not the original.
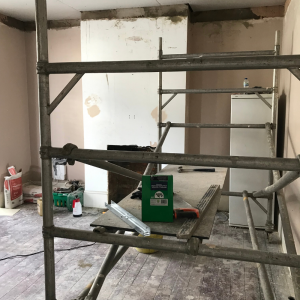
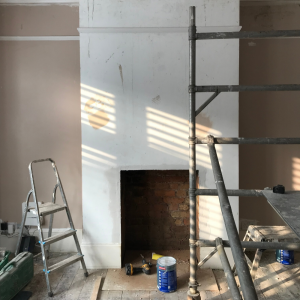
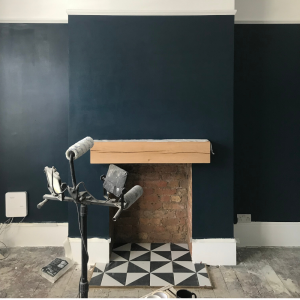
The next step was the exciting part and I’m trying to remember in what order it happened. Firstly our guys got to work by plastering around the chimney to create a smooth edge. One of the features that we wanted was to expose the chimney bricks which were completely black once we had revealed them. I think that they spent days cleaning them up with acid, and we are really pleased with the result. It was hit or miss how they would have looked, and if they didn’t look great we would have plaster boarded the internal walls of the chimney.
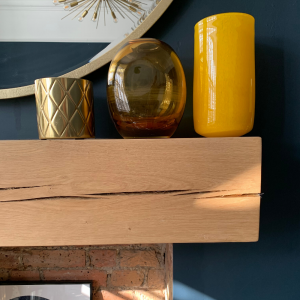
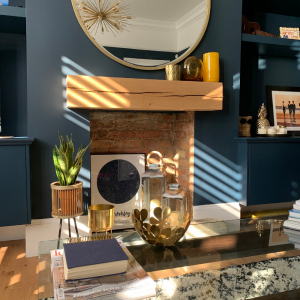
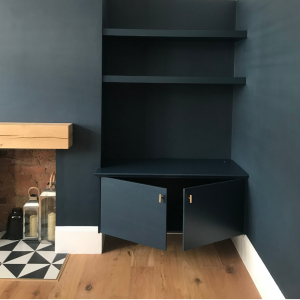
Next up they laid the tiles for the hearth. These are the same as the hallway tiles, helping to create some cohesion between the two rooms. I’ve also added detail here with a brass box tile trim from Topps Tiles to seperate the tiles from the floor. Again we’ve created some cohesion and consistency between these rooms by using the same tile trim on the living door threshold and the entrance way into the kitchen. We also installed a huge solid oak beam above the opening to frame the fireplace. We decided not to install an original fireplace here for a couple of reasons, I didn’t want to spend hours trawling around for this, we would never use it and I love how having it opened up has really created a feature within the room.
So that’s the fireplace.
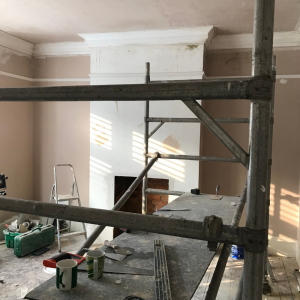
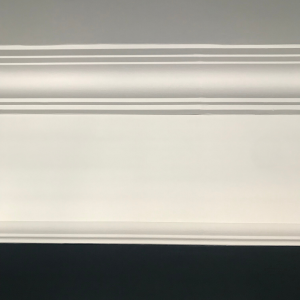
Next up was adding a picture rail, cornicing and a ceiling rose. I opted to go for cornicing with depth, we have high ceilings so it completely made sense to do so in this room. To help guide our decision we tried our best to match it to the cornicing in the hallway (the only original feature left in the house), and then we opted for a standard picture rail from Wickes and a ceiling rose from the same place we bought the cornicing from. When it arrived it was so brittle, made out of plaster, and I was actually pretty nervous about it going up against our wonky walls, but our guys did an amazing job at this.


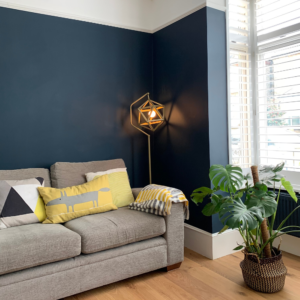
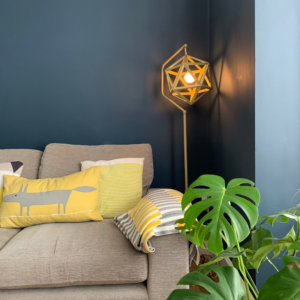
Once all the new additions were added to the room it was then painted in Farrow and Ball Hague Blue with Dulux Brilliant White above the picture rail and on the ceiling. It was tricky decision whether to paint the picture rail Hague Blue, but in the end we opted to keep this white. Last up was the installation of the engineered oak wood floor, the same wood as the kitchen. I originally wanted this room to be chevron like the kitchen, but sadly our budget didn’t quite stretch to have it in the both rooms, so we opted for single boards in here.
One of the things that I really didn’t want was a floor edge strip against the skirting board hiding the expansion gap. I was quite adamant about this, you have to be when it’s your own home, so (I think) much to our builders annoyance they biscuit cut (I think that’s the word) into the skirting board so that the new floor could slide in underneath. My advice, if there’s something you really want, push for it, you may need to pay a little bit more if additional work is required, but the devil is in the detail!
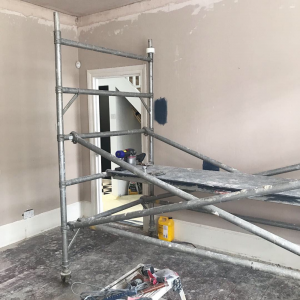
Last up to complete the room, and as part of the overall ground floor renovation we replaced the door for a modern door. We went for a full suite of modern doors downstairs including the door leading into the extension, utility cupboard and downstairs toilet, and it would have seemed odd keeping the existing door in place.
Then once all of the main renovation throughout the house was complete we had alcove cupboards and shelving built which helps to add a sense of grandeur to the room. I decided to have these painted in Hague Blue to match the walls, as I think that white would have just been too stark against the darkness of the walls.
Finally gold and brass touches have been added to the room including the sputnik chandelier which I love, the gold light switches and cupboard handles from Dowsing and Reynolds, and the brass tile trim surrounding the hearth and on the door threshold.
We are really pleased with how this room has turned out, now I just need to keep the kids out of it and style the shelves a little better.
Claire x


One Comment
Eric White
The color you select is beautiful, I love it.. thanks for sharing 🙂